The successful growth of any lawn or garden begins with the soil. Different soil compositions need to be cared for differently in order to support vegetation, and you can determine what your soil needs through sampling and testing. Before you embark on your next gardening or landscaping project, it’s important to know the proper procedure for sampling and testing soil accurately.
Getting Started
 Soil sampling needs to take place at the right time, but you have a fair bit of leeway in choosing when to collect your sample. Soil samples are generally usable as long as the soil isn’t wet or frozen at the time of collection. Make sure to take and test your samples well in advance of the date you intend to plant so that you can make necessary adjustments with no need to panic.
Soil composition can vary across large areas, so be sure to sample different areas of sizable gardens or yards. Just because you’ve sampled an area in the past doesn’t mean you’re good to go forever. The makeup of soil changes over time, so it should be retested every 2 to 4 years. When in doubt, sample again!
Fertilizer can also skew the results of a soil test. If you have recently used fertilizer, wait between 6 to 8 weeks before taking a sample.
Collecting Your Soil Samples
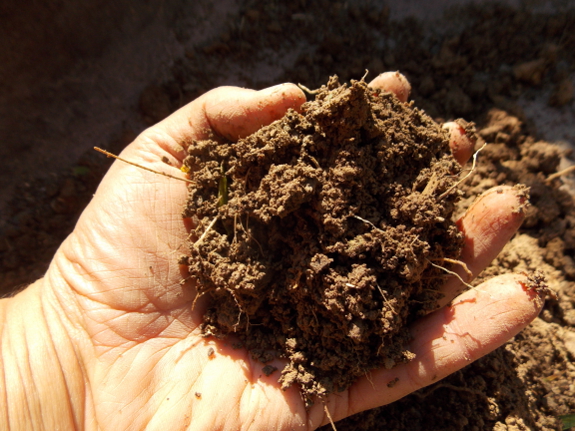
Because plants absorb their nutrients from deep within the soil, samples must be taken at multiple points of depth. These smaller samples are known as “cores,” and ten or more core samples combine to form a full sample of a given soil area. Avoid sampling areas with bare spots on the surface or foreign matter (grass, moss, etc.) in their composition.
Each core in your sample should measure between 4 and 6 inches deep if it’s lawn soil, and 6 to 8 inches if it’s garden soil. Make sure to remove any excess materials like glasses, stems, and leaves.
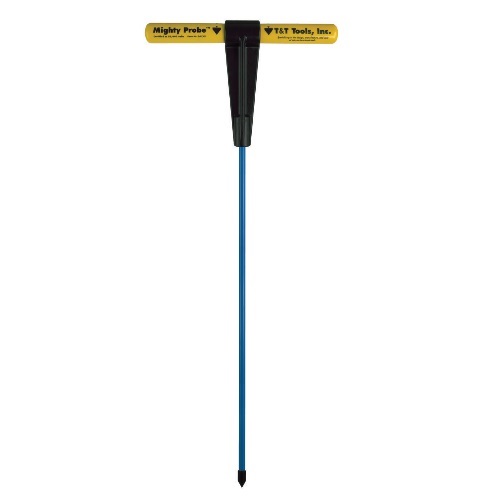
It’s a good idea to use a soil probe for sampling. Soil probes offer an affordable and high-performing alternative to conventional garden spades. Probes made from stainless steel, like the T&T Tools Mighty Probe, are ideal, as other metals can contaminate your sample and alter your results. When mixing your soil cores to create your sample, deposit them into a clean bucket made of plastic or stainless steel.
Be Thorough
In preparation for soil testing, make sure to put all your ducks in a row. Make sure to label each sampling container and the corresponding form for your results. Specificity about the location of each sample gives the testers more information to work with when making recommendations. For example, testers will want to know whether a sample was taken from a sunny area or a shaded area in order to provide the most accurate information possible. Also note the types of crops you intend to plant in the sampled soil.
Testing Your Soil Samples
The first step in testing your soil samples is figuring out where to do it. Your local county extension agent or agronomist can provide sampling kits and point you toward the nearest testing laboratory locations.
The results of your soil tests will reveal the nutrient levels and pH levels of your samples. You’ll also receive information on your soil’s texture and percentage of organic matter, which will help you understand its ability to absorb nutrients.
Your test results should include recommendations on how to address problems in your soil. If you intend to grow a certain plant that your soil is not suitable for, you will receive advice about specific fertilizers to use or additives (such as sulfur or limestone) that can alter your soil’s pH balance and aid plants in their absorption of nutrients. Don’t worry if you’re not exactly sure how to apply those soil treatments -- your results will contain instructions on how to implement the treatments properly.